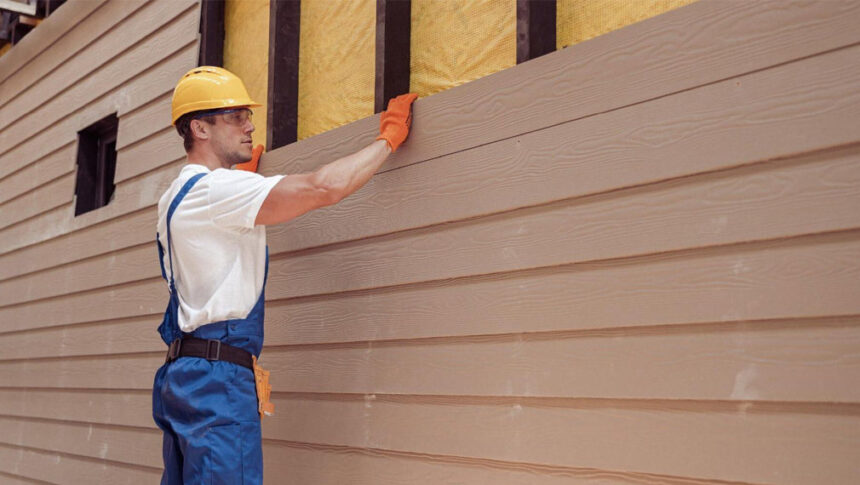
Silver Spring’s mixed humid climate brings muggy summers, quick thunderstorms, and leafy shade that holds morning dew. Those conditions shape how well new siding performs. A clean, level look on day one is not the whole story. What protects your wall sheathing from trapped moisture, where wind driven rain lands, and how panels move with temperature changes all determine long term results. This article zeroes in on practical, inspectable details to specify and verify before and during installation. If you are planning a project on an older split level or a mid century Cape, the same principles apply: drain what gets in, let walls dry, and allow the cladding to expand and contract without telegraphing waves.
-
Plan Around Silver Spring’s Mixed Humid Climate
Start by matching materials and details to frequent summer rain and shoulder season moisture. A continuous water resistive barrier (WRB), properly layered flashing, and a small ventilation gap behind the cladding are more than best practices here; they are defenses against capillary wicking and freeze thaw stress. For regional terminology and example assemblies, review building resources like https://www.apexremodel.com/ alongside manufacturer instructions and your installer’s proposed details.
Walk the site with orientation in mind. North facing walls and shaded elevations under mature trees stay damp longer and benefit most from a rainscreen gap and well placed weep paths. Wind exposure on corners can drive rain behind laps, making kick out flashing and properly lapped housewrap critical. On older homes, check sheathing flatness; humps in OSB or plank sheathing telegraph through rigid claddings. Plan minor plane corrections with furring strips rather than forcing siding to bridge bows.
-
Build a Wall That Drains and Dries: WRB, Flashing, and a Rainscreen Gap
A reliable WRB such as housewrap or a self adhered membrane should be shingle lapped from bottom to top, with seams taped per the product’s instructions and window openings integrated with self adhered sill pans and head flashings. Z flashing above horizontal trim and band boards keeps runoff from soaking trim edges. Think like water: every upper layer must overlap the one below, and every penetration, from hose bibs to light blocks, needs flashing that directs water to the WRB face, not behind it.
Then create a capillary break and airflow path. A 3/8 inch rainscreen gap using vertical furring strips or a drainage mat allows incidental water to drop to the starter strip and exit at the bottom. Keep the base open with bug screen rather than caulking the bottom course, and vent the top at soffits where possible. On a shaded north wall in Silver Spring, this simple gap often means paint on fiber cement lasts longer, and the sheathing stays measurably drier after storms than in tightly sandwiched assemblies.
-
Choose Siding and Fasteners With Movement in Mind
Vinyl expands and contracts noticeably with temperature. Panels should hang from nails driven in the center of the nailing slots, snug but not pinned; you should still be able to slide a panel side to side. Leave the manufacturer’s prescribed gap where panels meet J channels and corner posts, especially with darker colors that heat up in summer sun. A common failure shows up as buckling on a south facing wall where nails were overdriven and ends were cut tight into trim.
-
Detail the Risky Transitions: Roof to Wall, Windows, and Terminations
Most leaks begin where planes meet or end. At roof to wall intersections, install step flashing under each shingle course and a kick out flashing at the eave to push runoff away from the siding and into the gutter. Over windows and doors, use head flashing with end dams that extend past the trim face, and integrate it with the WRB. Use a true starter strip to set the first course dead level, and add Z flashing where horizontal trims break vertical runs. Around penetrations, use purpose made utility blocks and compatible sealants, but never rely on caulk alone to do a flashing’s job. In a Silver Spring thunderstorm, a missing kick out often shows up as water stains and soft sheathing at the lower corner; adding that small metal diverter prevents repeated wetting of the wall and soffit.
Insulation Upgrades Without Moisture Surprises
Continuous exterior insulation can cut thermal bridging through studs, but it changes fastening and drainage. If you add 1 inch of rigid foam over sheathing, you will likely need longer corrosion resistant fasteners and a nailable base such as furring strips to maintain proper nail penetration for fiber cement or wood siding. Choose foam with drainage grooves or keep your rainscreen gap to preserve drying potential. Expect to adjust trim depths, J channels, and corner posts so the thicker wall build looks intentional.
Insulated vinyl siding bundles a modest R value into the panel and keeps the wall plane similar to standard vinyl, which can simplify trim alignment. The trade off is that fastening feels different because the foam backer supports the panel, and you still need correct slot nailing and expansion gaps. For a home near a busy corridor, exterior insulation may also damp some street noise, but prioritize moisture management first; a wall that dries well is easier to keep quiet, comfortable, and durable.
Silver Spring homeowners who focus on three checkpoints tend to get durable results: a layered WRB and flashing that shingle over each other, a thin but continuous rainscreen gap for drainage and airflow, and siding panels detailed to move without stress. Add simple care and you reinforce the install. Keep gutters clean so kick out flashings work, rinse algae prone elevations each spring with a garden hose and a siding safe cleaner, and inspect caulk at trim joints without sealing weep paths. After a major storm, look under window sills and at roof to wall corners for early signs of trouble. Small corrections made early protect the whole assembly.