When an incident leaves blood, bodily fluids, sewage, or needles on a property in Oregon City, the first hour shapes everything that follows. Biohazards are not just messy; they can carry bloodborne pathogens and bacteria, create strong, persistent odors, and spread contamination to hallways, vehicles, and HVAC systems. Whether you manage rentals near the bluff or run a small shop downtown, the safest path forward starts with containment, careful documentation, and avoiding well-meant but risky cleaning attempts. This article explains practical, early actions that limit exposure, support insurance claims, and prepare the scene for a professional remediation without turning a difficult moment into a larger, costlier problem.
-
Secure the Scene: Limit Access, Power, and Airflow
Oregon City property managers can find local response guidance on resources like restorationtechsllc.com, but the first task is always containment. Close doors to the affected room, place painter’s tape and a simple “Do Not Enter” note at the threshold, and keep family, tenants, pets, and customers out. If the area connects to forced-air heating or cooling, turn off the HVAC serving that zone to reduce aerosol movement. If you must be near the scene, wear nitrile gloves and avoid touching your face; skip fabric gloves that can absorb and spread contaminants.
Identify what you are seeing before acting. Liquid blood, dried residue, sewage (Category 3 water), and rodent droppings call for different responses. Do not pick up needles by hand; use tongs and place them in a rigid, puncture-resistant sharps container. Do not vacuum blood or sewage with a household vacuum because filters can aerosolize contamination. If a toilet overflow is active, turn off the supply valve only if it is safe to do so. Block doorways with a towel dam to limit tracking and keep shoes used near the site isolated in a plastic bag.
-
Create Containment and Preserve Evidence for Insurance
Simple materials can make a big difference—Lay absorbent pads or folded paper towels at the entry to capture drips. If available, isolate the room with 6 mil plastic sheeting and painter’s tape, covering supply vents and returns; even a temporary curtain reduces cross traffic. Place disposable shoe covers or a designated “entry mat” at the threshold so any unavoidable access follows one controlled path. Photograph the area before moving anything, including footprints, drag marks, or splashes on baseboards and adjacent walls. A short entry log noting times and names helps establish chain of custody when adjusters review the claim.
Consider a realistic retail scenario: a customer injury leaves a blood trail from the register to a restroom. Place wet floor signs and cones, reroute customers around the aisle, and lay a taped plastic walkway to stop tracking while preserving required egress routes. Wipe cart handles with disinfectant wipes only outside the containment zone to avoid pushing contamination further in. A common mistake here is using degreaser on polished concrete; it can etch the finish without effectively addressing biohazards. Preserve the scene for pros who will remove, disinfect, and verify rather than cosmetically smear the problem.
-
How Remediation Teams Remove, Disinfect, and Verify
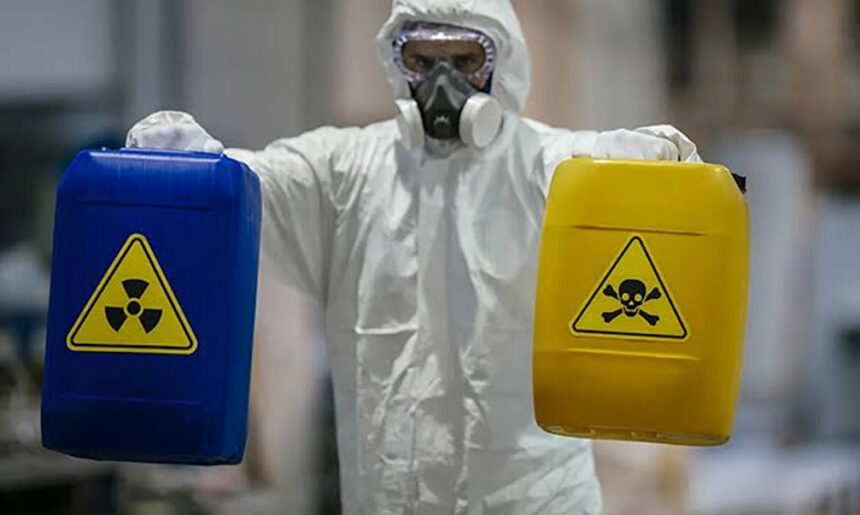
Professional biohazard teams arrive in full PPE, including Tyvek suits, nitrile gloves, face shields, and respirators (often half-face with P100 filters). They stage clean and dirty zones, then extract and bag porous materials that cannot be sanitized, such as carpet pad, saturated drywall, and affected insulation. They treat hard, nonporous surfaces with EPA-registered, hospital-grade disinfectants and allow them to sit for the required dwell time, not just spray and wipe. HEPA air scrubbers may be deployed to reduce aerosols, and negative air machines can maintain directional airflow, so contaminants move into, not out of, containment.
Verification matters. After visible contamination is removed and disinfectants dwell, many teams perform ATP testing with a luminometer to spot organic residues invisible to the eye. UV inspection can help reveal splatter on tile grout, baseboards, or switch plates. Regulated waste is sealed in red biohazard bags or rigid containers and transported to permitted facilities under applicable rules, with disposal documented on manifests. If odors remain, technicians may use hydroxyl generators to treat airborne compounds; ozone is sometimes used in vacant spaces but requires strict controls and entry delays. The goal is safe occupancy supported by clear, defensible documentation.
-
Remove or Restore? MakingMaterial-Specificc Calls
Decisions hinge on the surface. Porous items like carpet, upholstery, and raw wood tend to absorb fluids and usually require removal rather than cleaning. Non-porous materials such as sealed epoxy-coated concrete, stainless steel, and high-gloss paint are better candidates for disinfectant cleaning and verification workflows. If contamination is shallow, you can sand and seal subfloors with an antimicrobial encapsulant, but deeper intrusion typically calls for cutting out and replacing affected sections. Speed is tempting, but quick wipe-downs often miss migration into seams, underlayment, or wall cavities, leading to persistent odors and secondary damage.
Picture a split-level home with a toilet backup that saturates bathroom drywall and wicks into a hallway. A practical cut line might remove baseboards and drywall 12 to 24 inches above the highest water mark, allowing drying and inspection behind. In a vehicle scenario, blood on a vinyl seat may reach seams and foam; the seat may need to be removed and replaced. A safer sequence is to clean the area, disinfect it, and replitriand replace materialslearance, Odor Control, and Records.
Before reopening a space, confirm there is no visible contamination, surfaces have met disinfectant dwell times, and odor is neutral across the room, closets, and return air pathways. Run ventilation to flush the area after remediation, then check adjacent zones for overlooked splatter on door trim or outlets. Keep a packet containing photos, a scope of work, disinfectant labels with EPA registration numbers, and disposal receipts or manifests. Employers should document any exposure evaluations affected staff have and ensure required OSHA bloodborne pathogen training and vaccinated staff. Clear, complete records reduce disputes and support future tenants or inspections.
Biohazard incidents are stressful, but a short checklist brings order. Block access, shut off the local HVAC, and do not vacuum, steam, or spread contaminants by mixing bleach and ammonia or using aggressive scrubbing. Stabilize the perimeter with plastic and absorbent pads, capture photos, and note where splatter could have migrated: under thresholds, behind baseboards, into subfloors, and along hallways. Then allow trained remediators to remove what cannot be decontaminated and verify what can. Planning with a vendor contact list, basic PPE on hand, and a clear communication tree helps Oregon City properties reopen sooner and more safely.