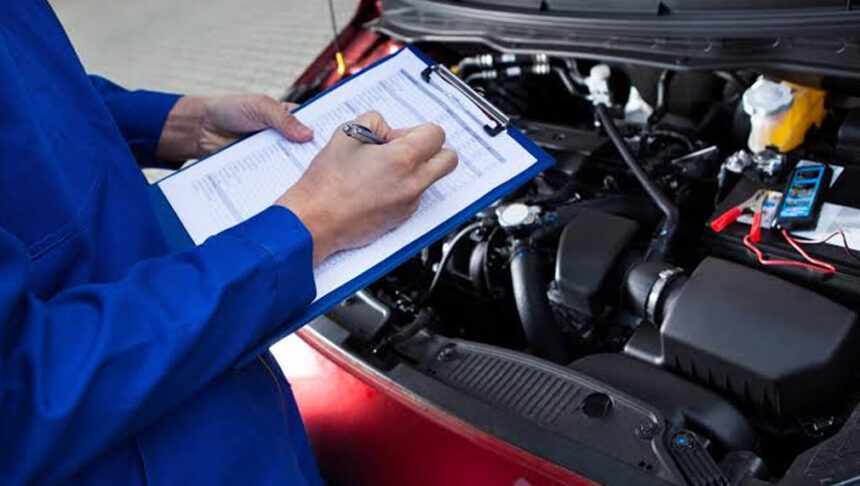
An annual inspection is more than a quick look under the hood. It is a systematic check of components that help keep you, your passengers, and other road users safe. Small issues such as a burned out license plate bulb or a damaged wiper blade can trigger a retest just as easily as a worn brake pad or damaged suspension component. Headlight aim, tire condition, and fluid leaks all matter, along with the condition of seat belts and the horn. This guide explains what typically gets checked, provides a simple one week preparation plan, covers inspection day logistics, and shows how to prioritize repairs if something does not pass the first time.
-
The Checks That Decide Pass or Fail
At a Stafford Car inspection station, technicians typically assess lighting and visibility, including headlamps, brake lights, indicators, reverse lights, and license plate illumination. They also inspect wipers and washers to ensure the windshield stays clear. Technicians check tires for tread depth, sidewall damage, and uneven wear that could indicate alignment or suspension problems. Under the vehicle, a technician may look for brake line corrosion, leaking shock absorbers, damaged CV boots, and loose suspension components such as ball joints and bushings. Exhaust condition is also important, particularly if there are leaks, excessive noise, or damaged components. Dashboard warning lights may also affect the inspection depending on the system involved and applicable inspection requirements.
-
A One-Week Preparation Plan You Can Do on Your Driveway
Start with the lights. Walk around the vehicle while a helper presses the brake pedal and operates the turn signals. Replace failed bulbs and clean dirty or cloudy lenses where appropriate. Inspect the wiper blades for cracks or damage, top up the washer fluid, and make sure the nozzles spray the windshield correctly. Check tire pressures when the tires are cold, inspect the sidewalls for cuts or bulges, and use the tread wear indicators or a tread depth gauge to make sure the tires meet legal requirements.
Check each seat belt to make sure it latches securely and retracts properly. Test the horn, confirm that mirrors are securely attached, and inspect the fuel cap for obvious damage. Look underneath the vehicle for fresh oil, coolant, or other fluid spots. Listen for unusual exhaust rattles during startup because they may indicate a loose heat shield, damaged hanger, or another exhaust problem that deserves attention before inspection.
-
The Morning Of: Documents, Timing, and Quick Checks
Arrive a few minutes early and make sure the locking wheel nut key is accessible if your vehicle uses locking wheel bolts. Remove unnecessary items from areas that may need to be inspected and make sure the windshield is clean and the vehicle identification number is visible where required. Check tire pressures one more time and make sure no new dashboard warning lights have appeared.
If your vehicle requires emissions related testing, follow any preparation guidance provided by the inspection station. Bringing the vehicle in after normal driving may help ensure the engine is at operating temperature where relevant. If your car has unusual starting procedures, aftermarket security equipment, or other features that could affect routine checks, tell the inspector before the inspection begins so unnecessary delays can be avoided.
-
If Something Fails: What to Ask and What to Fix First
Ask for a clear explanation of any defects and advisory items. Safety related problems such as badly worn brake pads, damaged tires, loose steering components, or serious suspension defects should receive immediate attention. A damaged CV boot may seem minor, but allowing dirt and moisture to enter the joint can eventually lead to a more expensive repair.
For exhaust problems, determine whether the issue involves a leaking connection, cracked pipe, damaged hanger, or another component before authorizing repairs. Tire replacement decisions also deserve careful consideration. Replacing a single tire may reduce immediate cost, but tire condition, tread depth, axle placement, and vehicle drivetrain requirements should all be considered. After repairs are completed, ask whether a retest is required and what time limits or procedures apply.
-
When Extra Inspections Pay Off: Buying, Seasons, and Long Trips
An inspection before purchasing a used vehicle can reveal uneven tire wear, fluid leaks, worn suspension components, battery problems, and other concerns that may not be obvious during a short test drive. These findings can help you make a more informed purchasing decision or identify repairs that may soon be necessary.
Seasonal checks before winter or a long journey can also be worthwhile. Have the battery and charging system tested if performance seems weak, confirm that coolant is at the correct level and concentration, and have brake fluid condition checked when appropriate. Inspect belts, hoses, and related components for visible wear. Addressing these issues before a demanding trip can reduce the chance of an unexpected roadside breakdown.
Prepare Early for a Smoother Inspection
A smooth inspection usually comes down to correcting simple faults before the appointment, arriving prepared, and addressing repairs in the right order. Lights, wipers, tires, brakes, steering, suspension, exhaust components, and safety restraints all contribute to safe vehicle operation. Problems in one area can also create symptoms elsewhere, so proper diagnosis matters.
A week of simple checks can help uncover easy problems before inspection day. Make sure the vehicle is clean enough for important components to be examined, bring any necessary keys or documentation, and ask for a clear explanation if a defect is found. Turning advisory items into a sensible maintenance plan can help keep the vehicle safer and reduce unexpected repair needs before the next inspection.