Ordering beautiful pendants or a sleek chandelier is the fun part, but the decisions that determine how well new lighting works day to day happen before anyone cuts a hole or pulls a wire. In Fuquay-Varina homes, humidity, attic heat, and mixed-use spaces shape smart choices. A simple sketch of fixtures and switches, a few measurements, and the right compatibility checks can prevent callbacks, flicker, and shadows you notice every evening. This guide focuses on the practical planning steps homeowners can take so installation goes smoothly and the result feels intentional, safe, and comfortable.
-
Draw a Switch Map Before Any Wire Gets Pulled
Start by listing every area you want to control: overhead fixtures, undercabinet runs, toe kick lights, vanity sconces, porch lights, and pathway or step lights. Then mark where you want to stand to operate each one. Long halls and open-concept rooms often need 3-way or 4-way control so you can turn lights on at one end and off at the other. A “switch map” showing each 3-way pair (and any 4-way between them), traveler paths, and the exact box locations helps your installer route cable efficiently and reduces added drywall cuts later. Include dimming symbols where needed so the right cable and box fill are planned from the start.
Future control options depend on wiring details you choose now. For example, running a neutral conductor into every switch box, as many modern controls require, keeps your options open for smart switches, vacancy sensors, or low standby LED dimmers. If you want a hall light, a stair light, and a foyer pendant to work together on one scene, note that on your map so the feed and switch legs are grouped. For additional background on residential lighting service in the Triangle, see https://callbluebeagle.com/, and keep your switch map handy when discussing specifics with a licensed electrician.
-
Match Fixtures and Placement to the Task, Not Just the Room
Think in lumens and beam spread, not just watts. Kitchens need bright, even task light on counters, while dining rooms benefit from a centered pendant with a warmer feel. In a kitchen, combine recessed general lighting with undercabinet strips to eliminate the shadows your body casts on the counter. For a home office, a higher color temperature and high color rendering index (CRI) help with paper and screen contrast, while a floor lamp can keep glare off monitors. In bathrooms, wall sconces at face height on both sides of the mirror reduce harsh shadows that a single overhead bar can create.
Placement details pay off every day. Recessed downlights placed too close to walls can create scallops and glare; slightly pulling them toward the room and adding a wall wash trim where you hang art gives softer, more useful illumination. Over an island, space pendants evenly along a centerline and keep line of sight clear between work zones and the cooktop. On porches, a fixture listed for damp locations with a sealed trim resists summer humidity and wind-driven rain. If bugs are a concern, consider warmer color temperatures outdoors to attract fewer insects than cooler, bluish light.
-
Pick Dimmers and Controls That Your LED Drivers Will Actually Like
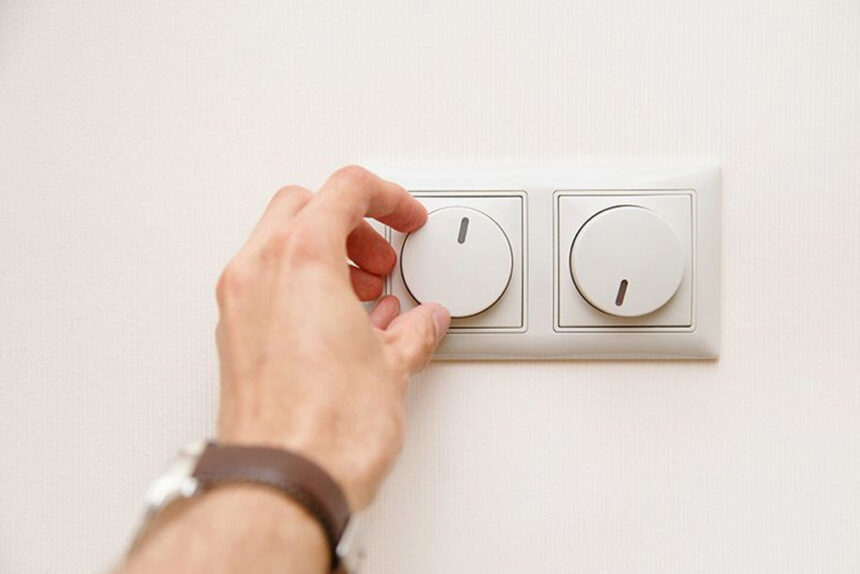
LEDs do not all dim the same way. Many decorative fixtures use electronic low voltage (ELV) drivers that need reverse-phase dimmers, while traditional forward-phase (triac) dimmers pair better with line-voltage LED lamps. Mismatch the two, and you can get shimmer, dropout, or a narrow dimming range. Check themanufacturer’ss compatibility list for your exact lamp or fixture model, not just the brand. If you are specifying 0 to 10V fixtures in a garage or workshop for flicker-free dimming at low levels, those require low voltage control conductors in the same raceway, so note that early on the plan.
Smart controls have their own wiring needs. Many Wi Fi and Zigbee switches need a neutral in the box to power the electronics, and some have a minimum load requirement below which lights may ghost or never fully turn off. If you prefer smart bulbs instead, use a dedicated on/off switch or smart remote and keep power constant to the lamps to avoid resetting them with every press. In stairwells and laundry rooms, vacancy or occupancy sensors can cut wasted energy without you thinking about it, but confirm whether the space needs a single-pole sensor or a multi-location solution. Hence, travel conductors and line feeds are correct.
-
Respect Insulation, Moisture, and Listing Requirements
Attic conditions around Fuquay Varina can be hot for much of the year, so specify IC-rated, airtight recessed housings where insulation is present. Non-IC cans touching insulation pose a fire risk and can shorten LED life due to trapped heat; airtight housings also reduce conditioned-air leakage. In bathrooms, use damp-listed fixtures and shower trims with a sealed lens over wet zones. Outdoor fixtures should be wet-listed when exposed, and metal boxes and nipples should be corrosion-resistant. Branch circuits serving habitable rooms typically require AFCI protection, and outlets or lights near tubs and exterior locations often require GFCI protection; planning those protections helps avoid nuisance trips or extra panel work on installation day.
Site Prep That Keeps Inspection and Install Day on Schedule
Clear access matters more than most homeowners realize. Make sure the attic path to the work area is unobstructed and safe to traverse, and remove items from beneath proposed ceiling box locations. Confirm that any ceiling box meant to hold a fan-light combo is fan-rated; standard fixture boxes aren’t designed for the dynamic load and can loosen over time. If you are swapping a heavy chandelier into an existing location, verify that the support is listed for the new weight. Mark centerlines over islands and tables with painter’s tape so the installer can align mounting points without guesswork.
Permits and inspections vary by municipality, but electrical work is often inspected for box fill, bonding, and grounding continuity, among other details. Label your panel clearly before the appointment so the installer can de-energize and test circuits quickly. Keep fixture cut sheets and dimmer compatibility charts on hand for the installer and, later, for bulb replacements. As you finalize decisions, weigh trade-offs explicitly: recessed cans give a clean ceiling but can create glare if overused; tracks and surface mounts show hardware but keep wiring flexible for future furniture moves; smart switches centralize control while smart bulbs let you play with color in individual lamps. A little forethought about these specifics makes lighting that looks good on day one and functions intuitively for years.